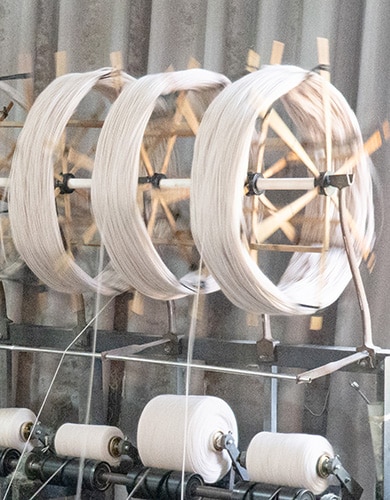
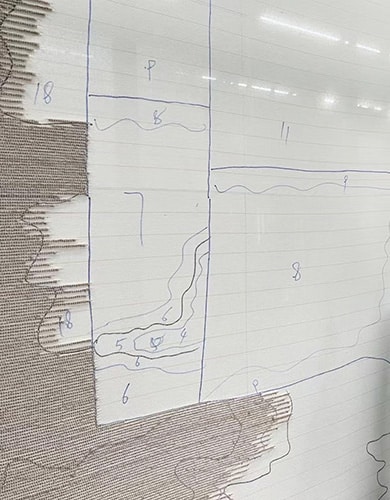
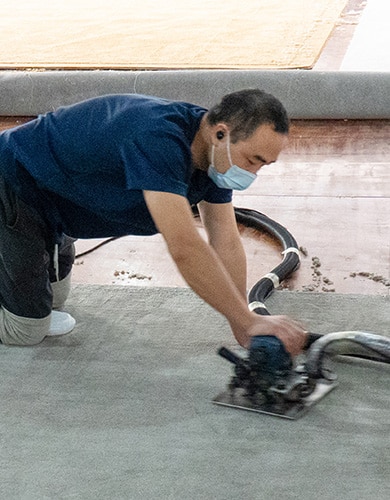
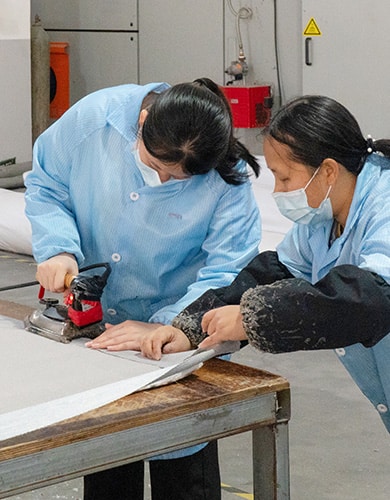
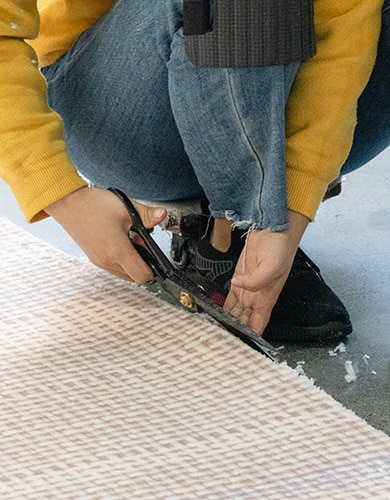
Procedures How We Tuft Rugs Step into our workshop and witness the craftsmanship that goes into each custom tufted rug we create.The following photos illustrate the key stages of our rug-making process, from initial design to the final product. Yarn Preparation Select yarns based on the design requirements.Wind them onto cones or spools, ready for the tufting process. Design Transfer Properly fix the primary backing on the tufting frame. And hand-draw the design onto the back. Tufting Process Tuft the rugs by hand or using a machine, depending on the complexity of the design. Shearing and Carving The rug undergoes shearing to even out the pile height and create a smooth surface. Applying Backs Apply a secondary backing to the back of the primary backing to secure the tufted yarns and provide stability to the rug. Finishing Touches Add any finishing touches, such as binding the edges, trimming loose yarns, or applying anti-slip treatments. Let's Tuft Your Rugs! Get in touch to learn more about our custom tufted rug solutions.We reply to most incoming messages in just a few hours. Name Email Message Send